So I assume you’re soon about to board a flight for the first?
If so – lucky you, get ready for a potential travel addiction. I’ve been hooked since my parents took me on a flight for the first time. Since then I’ve given into this addiction hundreds of times.
But I guess you’re here to make sure everything goes well on your first time flying.
And maybe you’re curious about all the needy greedy details as well. I’ll make sure to do my best to satisfy both.
I’ll share with you all the knowledge I have based on my hundreds of flights around the world.
Everything from before your journey even starts to get from the airport to your destination the best way.
And to make it easy, I’ve created everything in a list of steps along with tips for you to follow.
Let’s begin.
📖 Table of Contents
Initial Booking, Packing, and Planning
1. Passport
First things first.
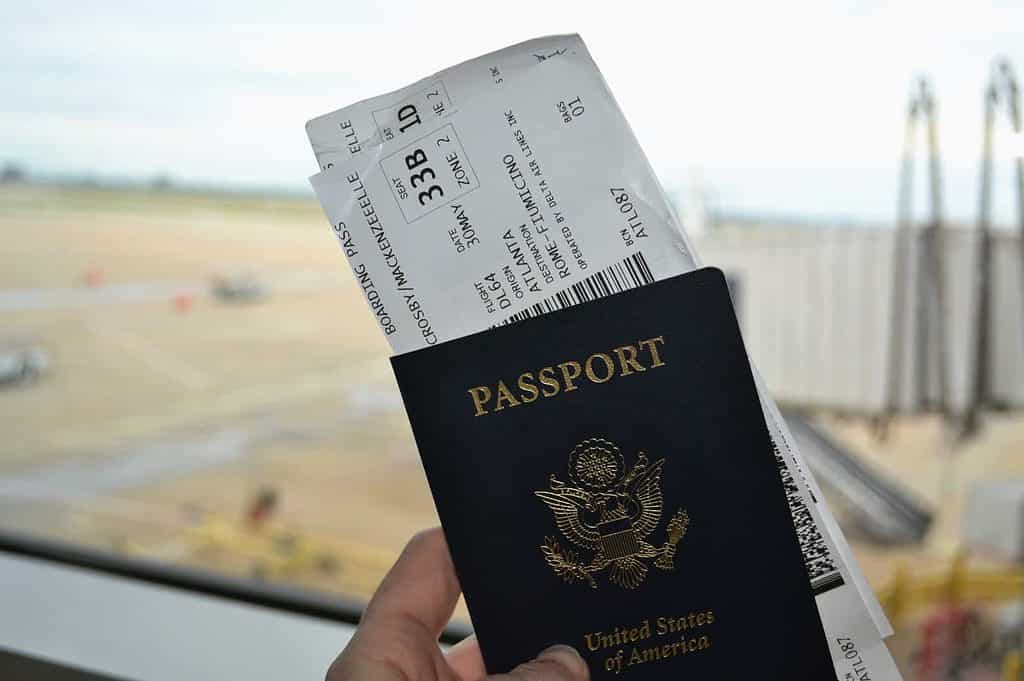
You’re not going far without your passport.
But you need to make sure it’s up-to-date as well.
Most countries require that your passport have at least 6 months left before expiring.
And if you need to renew your passport, it’s a good idea to do so months before your trip.
Especially during the busy high season in the summer, when many others are renewing their passports as well (mid-June to late August/early September).
2. Visa
Don’t confuse it with the popular payment card.
If you’re flying internationally you might need a visa for the country of your destination.
The only way to know this is to research the country you’ll visit. I suggest using one of your government’s websites. This will provide you with correct and up-to-date information based on your country.
3. Booking Your Flight Tickets the Right Way
Without the right knowledge, it’s easy to make mistakes in this area. Businesses thrive on people’s lack of experience.
Before you book your next flight, I highly recommend reading my comprehensive guide on how to save money on flight tickets (and secure the best flights).
With over 9 years of travel experience and booking 300+ flights, I’ve distilled my findings into a 19-step checklist.
By following this guide, you’ll not only gain practical knowledge on finding and securing the best flights but also potentially save thousands of dollars in travel costs.
Including how to:
- Maximize savings by looking up the best time to book flights
- Set up price alerts if the price of your tickets drops and save even more
- Earn cashback and save by using my recommended booking platforms
- Save money on extras like baggage fees through smart planning
- Discover budget-friendly hacks for your flight day and save on seat reservations and food.
📌 TIP: When you book your flight tickets, always use the exact first and last names like it's written on the passport. One typo can result in denied boarding, or a big fee if you need to change it.
4. Travel Insurance
It can be nice to have when flying domestically.
But If you’re traveling internationally, having proper travel insurance from the day of departure to the day you’re home is a must-have. And when it comes to insurance, Genki travel insurance has had my back more times than I can count.
I’ve been (un)fortunate enough to have my travel insurance cover me more times than I can count. Including everything from minor doctor visits to being hospitalized for multiple days.
And you might be curious about why. Both episodes that resulted in single to multiple sleepovers were on different trips to Thailand.
The first time was back in 2017 when I caught a deadly infection caused by an infected blister under my foot. The second time was at the beginning of 2022 when I slipped in the shower and dislocated my right shoulder.
Without my travel insurance over time, specifically my trusty Genki policy, I would have been set back more than +$10,000.
I also recommend getting one without an excess fee if possible. Though you pay a bit extra to waive it, you’ll get more peace of mind in return, and you’re more likely not to skip out on situations where getting seen by a doctor is the best idea.
5. The Night Before Your Flight
Your trip already starts the day before departure. Kind of.
If your flight is early you want to make sure your alarm will wake you up.
Also, make sure to charge your electronics overnight, so not only your biological batteries will be full after a good night’s sleep.

If you have experience with ignoring alarms, make several ones with different ones, or even have a backup device.
Another more serious approach could be asking your family or friends to give you a call in the morning – in the worst case they can even come to knock on your door.
In case of an early flight, I also suggest having everything packed the day before when you have time and your mind is more clear.
This will decrease the risk of forgetting something.
6. Carry-On Baggage Packing List
Failing to pack this right can affect your trip – especially if you’re taking medication.
The allowed weight and dimensions of your carry-on baggage depend on your ticket and the airline.
Usually, they’re limited to around 17,6 – 22 pounds (8 – 10 kg.).
And do notice that there’s a difference between cabin luggage and personal item.
Things To Pack In Your Carry-on Baggage:
1. 💊 Medicine
Bring enough for you to go to a pharmacy at your destination in case of the unfortunate event of losing your luggage.
And be sure to check the legal status of your medicine for the destination country you’re going to, and always bring a prescription written in English.
It has happened that people get detained and evicted with medicine that was legal in their home country, also despite having a prescription.
2. 📄 Documents
Copy of your passport, visa, travel insurance, booking details (flights and accommodation), and other documents that might be required through your journey or the country of your destination.
3. 👝 Toothbrush and Toiletries
For obvious reasons. Just remember the limits on liquids.
Everything above 3.4 ounces (100 milliliters) needs to be put in a 1 quart-sized resealable plastic bag which you’ll most often find near the security checkpoint at the airport. Notice that max. 1 plastic bag is usually allowed per person. Larger liquids need to be packed with your check-in luggage.
There are a few exemptions such as medication and infant and child nourishment which you can read more about by following the links.
4. 💵 Valuables Such as Money or Jewelry
Despite the obvious reasons, a lot of different staff will also have your check-in luggage in their possession, and some even do a routine search for security reasons.
5. 💻 Fragile Items Such as Electronics
And not only for your entertainment.
But if you think your check-in luggage will be carried on a pillow, think again. The condition of the average used travel suitcase reveals it all.
6. 📚 Books
Books are still cool. And they don’t need any batteries and can make us smarter.
7. 🎧 Headphones (With AUX Cable)
For your own devices and the in-flight entertainment on longer flights (we’ll get more into that later)
I highly recommend the Sony WH-1000XM5 headphones. It’s also the ones I use. They have won several awards. And with the market’s best noise-canceling, they’re perfect for flying too.
8.👂 Earplugs
Even though you’re not planning to sleep on the flight, earplugs are a good way to block out cabin noise from engines and other passengers (especially screaming kids).
9. 😴 Night Mask
This will make your sleep much comfier.
If you want a light, comfortable, and affordable one, I recommend this night mask.
10. 💤 Melatonin
If you’re traveling across several time zones this might your best friend to adjust your circadian rhythm.
Take 1 tablet of melatonin 1 hour before you’re planning to go to bed in your destination’s time zone.
And remember that melatonin isn’t dosage dependent. The perfect dosage is usually between 3-5 mg and sometimes even lower.
11. 🧦 Extra Underwear, Socks, and Top
In case your check-in luggage gets delayed or disappears, or if your journey long
12. 💳 Extra Credit Card(s)
Preferably from a different bank than your main one. By this, you’ll have an extra layer of security in case there are problems with either one of your cards or banks.
13.🚰 Snacks and Drinks
It’s much cheaper to bring your own than to buy them on the flight.
Remember that there are sometimes certain limits on what foods you can bring on board depending on the country of your destination.
Drinks also have to be purchased at the airport after security.
That’s why I always travel with my Grayl Geopress water filter. It allows me to safely drink tap water wherever I go. Saving me a lot of money by skipping the overpriced water bottles sold at airports.
15. 🔌 Chargers
To keep your electronics alive through your journey
Prohibited Items in Your Carry-on Baggage:
Large batteries (including some power banks), more than 1 lighter in your pocket, e-cigarettes, flammable items like pressure containers, and more.
This is a good list with examples of items (the official website of Copenhagen airport).
But make sure to check the airport you’re departing from and your destination country for the full list of items.
📌 TIP: Weight each of your luggage by first weighing yourself, and then weighing yourself afterwards carrying the luggage. The difference will reveal the weight.
7. Check-in Luggage 101
The allowed weight and dimensions of your check-in luggage depend on your ticket and the airline.
Usually, they’re limited to around 44 – 50,7 pounds (20 – 23 kg.).
And if you have a connecting flight your luggage will often automatically get transferred to your end destination.
But it’s not always the case depending on how you booked your tickets. Be sure to make this clear before departing, so you know whether you have to pick up your luggage and check in again at the transfer airport(s) before your final destination.
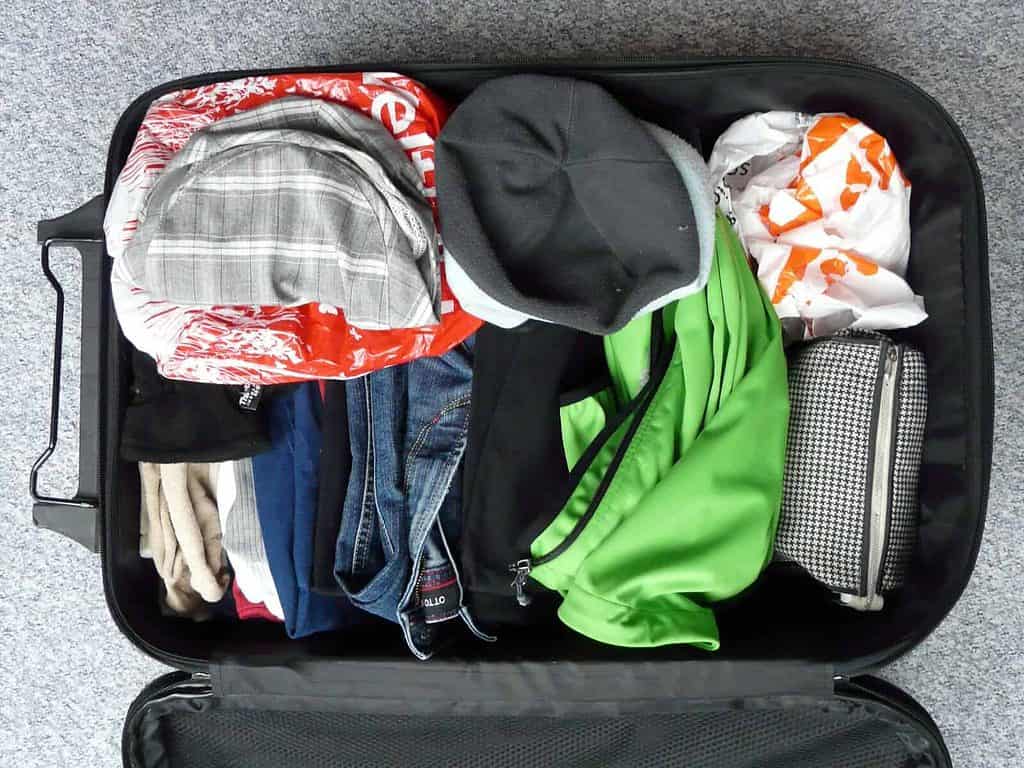
While I can’t advise you on what to pack in your check-in luggage, I can say a word or two about what not to bring.
First of all, you shouldn’t pack anything you can’t abstain from until you retrieve your luggage at your destination.
These things should go in your carry-on baggage.
And like with check-in baggage, there are prohibited items such as explosive and flammable items.
Your destination might also have some surprises for you as well on what’s illegal to bring with you, that’s not illegal in your home country.
I think Thailand is a really good example of this, where items such as electronic cigarettes, adult toys, or pornographic material are illegal.
Also, some items are restricted and should be shown to customs on arrival.
The full list of illegal or restricted items in Thailand can be found here if you’re curious about this particular example.
This does vary between airlines and countries, so as with everything else, make sure to read up on your exact trip as well.
📌 TIP: To increase the security of your luggage you can buy a TSA-approved lock if it's not already built in.
8. What to Wear
This is almost an art itself.
One thing to remember is that despite the weather where you’re departing or arriving, inside an airplane can get cold.
Therefore I always advise you to travel with at least a hoodie. It’s warm and comfy.
I like to travel in comfy clothes as well such as sweatpants or loose shorts.
Thick socks are also good since you take your shoes off without getting cold feet during long flights.
📌 TIP: Remember to wear your shoes before going to the toilet. The floor in the lavatories a proof that the combination of turbulence and full bladders is not always optimal :-)

9. Check Your Flight Before Heading to the Airport
You most likely will get an update by e-mail or text from your airline in case there are any changes to your departure.
This could be delayed or in the worst case cancellations.
One of the typical reasons for this is the weather.
But if you want to be 100% sure, check the airport’s departures on their website and confirm that your flight is still scheduled.
10. When to Arrive at the Airport
The general suggestion is 2 hours for domestic flights and 3 hours for international flights.
One of the good reasons to be there in good time is to give space for unexpected delays on the way to the airport.
Though there can be rare exceptions where you have to be at the airport even earlier.
To confirm the recommended time check the website of your airline or airport of departure.
📌 TIP: Be sure which terminal to go to as well, so you're not ending up at the wrong one. Especially if you're going to one of the larger airports.
When You Arrive at the Airport
11. Check-in
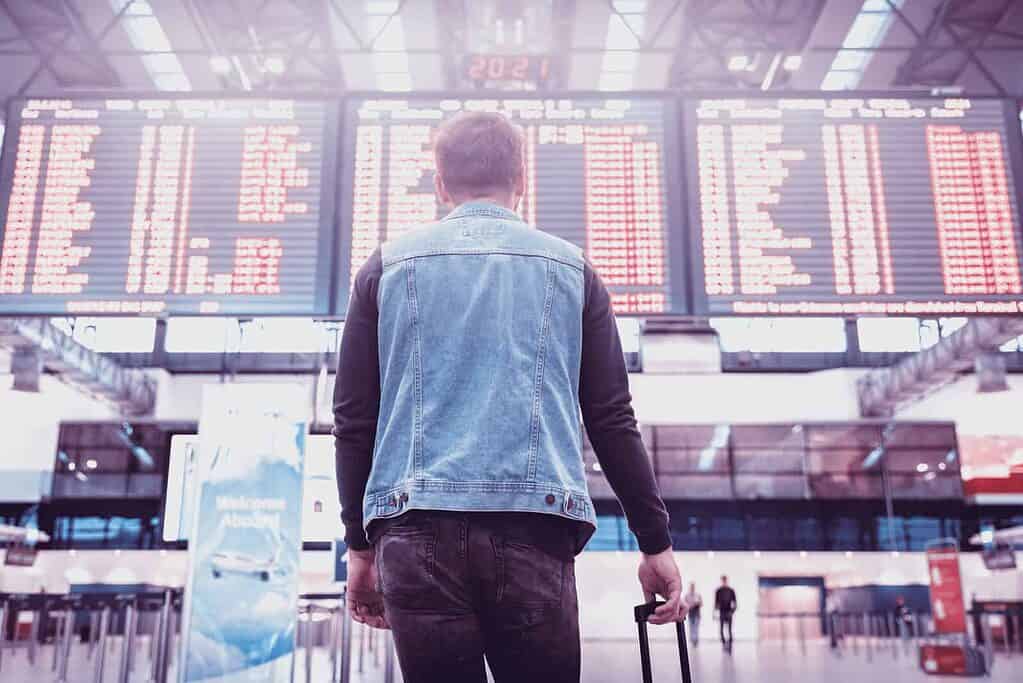
Once you arrive you want to check the departure screens you’ll find all over the airport.
Here you can see the terminal and check-in counter for your flight.
This you identify by looking for your destination, time of departure, and most importantly your flight number.
Let’s go through the different ways you can check in.
Online Check-in
Usually, you’ll get an e-mail from the airline provided with a direct link if it’s an option to check in online. So this can actually be done before arriving at the airport.
In that case, just follow the link and the instructions provided.
If you have luggage to check in you still need to drop this off at the check-in counter or self-service bag drop (don’t worry, you’ll get assistance from the staff if needed).
Though if you’re flying internationally, expect to have to do it physically at the airport (next step).
Check-in at the Airport
If you haven’t checked in online you’ll do so at the airport.
Usually, you do this by going to the check-in counter for your flight, and the staff will help you out with the rest.
At some airports for some airlines, there are also self-check-in machines where you can check-in, in, and print your boarding pass and luggage tag.
In this case, you’ll still need to drop off your luggage at the check-in counter or self-service bag drop.
📌 TIP: When you check in luggage you'll receive a sticky slip. This is like a receipt.

Don't lose this! It's used to identify and retrieve your luggage in case it gets delayed or lost.

You should only throw it out once you have retrieved all your luggage.
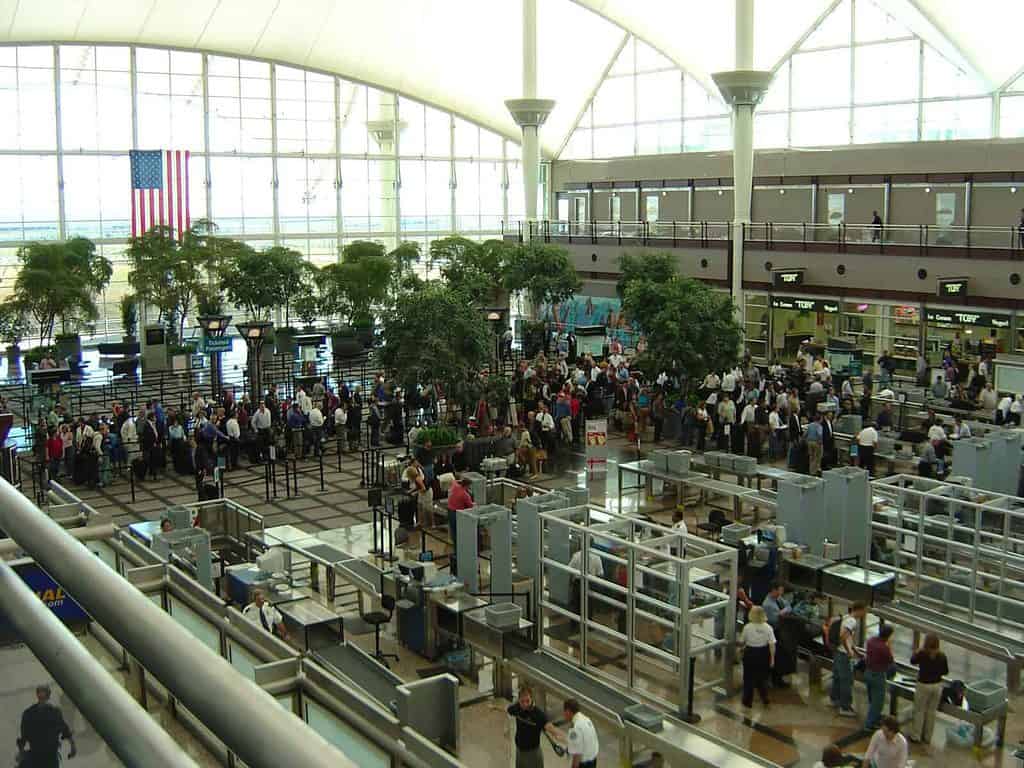
12. Airport Security Check-Point
After checking in you’re now ready to head for the security checkpoint.
Here you and your carry-on baggage will undergo X-rays and sometimes swabs looking for traces of explosive residue.
The procedure looks very much the same in most airports:
- Grab as many trays as you like and place them on the conveyor belt
- Empty your pockets and put everything in the tray such as your mobile phone, wallet, passport, etc.
- Followed by removing your coat, belt, hat, and jewelry and putting them in a tray as well. And if you have any plastic bag with liquids, this should be placed along (sometimes you’ll be asked to remove footwear as well).
- Place larger electronic devices in a tray each of their own, including laptops, tablets, drones, etc.
- While your items are on the way into the X-ray, you’ll walk through another security scanner (designed for humans).
- Once you’re through, it’s simply time to retrieve your belongings from the trays.
13. Immigration
If your flight is international, you might have to go through an immigration checkpoint as well.
Here you’ll show your passport to an immigration officer, or the more sci-fi self-check-in machine.
Sometimes you’ll also have to complete a departure and/or arrival card, which will be given to you at check-in, during the flight, or is to be found once you arrive.
14. Stay Updated Before Boarding
After passing through security, there’s just one more thing to do, before the more relaxing part of the journey can start.
You want to find a nearby departure screen and check the assigned gate for your flight, the estimated time of departure, and the status of your flight.
This is similar to when you were arriving at the airport and checking for the assigned check-in counter for your flight.
Even though your boarding pass usually shows this as well, changes sometimes occur after you’ve received it.
When you’ve confirmed the information on a departure screen, you’ll know how much time you have before heading to the gate.
Do notice that depending on the location of your gate, it can take some time to reach it.
Also, if you possess the great skill of easily being mindful and zen, setting an alarm for when it’s time to head towards your gate could be the difference between missing your flight or not.
The flight won’t wait for you.
📌 TIP: Regularly check these departure screens to make sure you're up-to-date. Changes in gates can sometimes happen up to several times.
15. Stock up on Beverages Before Your Flight
If you have time, now you can enjoy the more relaxing part of your journey.
Besides exploring the airport, it’s a good idea to stock up on water, snacks, etc. since it’s way more expensive on the flight. The same goes for food.
Do notice that you might already get some on the flight, especially if it’s international. But if you have a big appetite, it’s not guaranteed that it’s sufficient.
📌 TIP: I like to walk as much as possible before my flight if I have a long journey since that option is limited once you're on board.
16. Download Music, Episodes, or Movies for Offline Use
Most airplanes don’t have Wifi onboard.
And when they have it’s usually slow and limited.
So now it’s the last chance to download your favorite playlists on Spotify or some episodes or movies on Netflix.
If you read articles or blogs (good choice), you can also preload some pages in your browser – just remember to keep the tabs open.
17. Last Preparations Once You Reach the Gate
Since it’s your last chance to go to the toilet below 30.000ft (9,1 km) or more I suggest you do so.
There are toilets on every flight, but you’re not allowed to use them before or after takeoff.
And unexpected though common delays can postpone that possibility even further.
📌 TIP: If you're traveling to the US, sometimes security officers ask you a few questions at the gate as well. This is normal procedure.
18. Boarding the Plane
This is the last checkpoint before taking off.
Here the staff will check your boarding pass and passport before proceeding to the flight.
Often certain groups will be prioritized access first, including the elderly, disabled, or families with young children.
Or passengers that have bought prioritized boarding separately, or having it included in their business- or first class ticket.
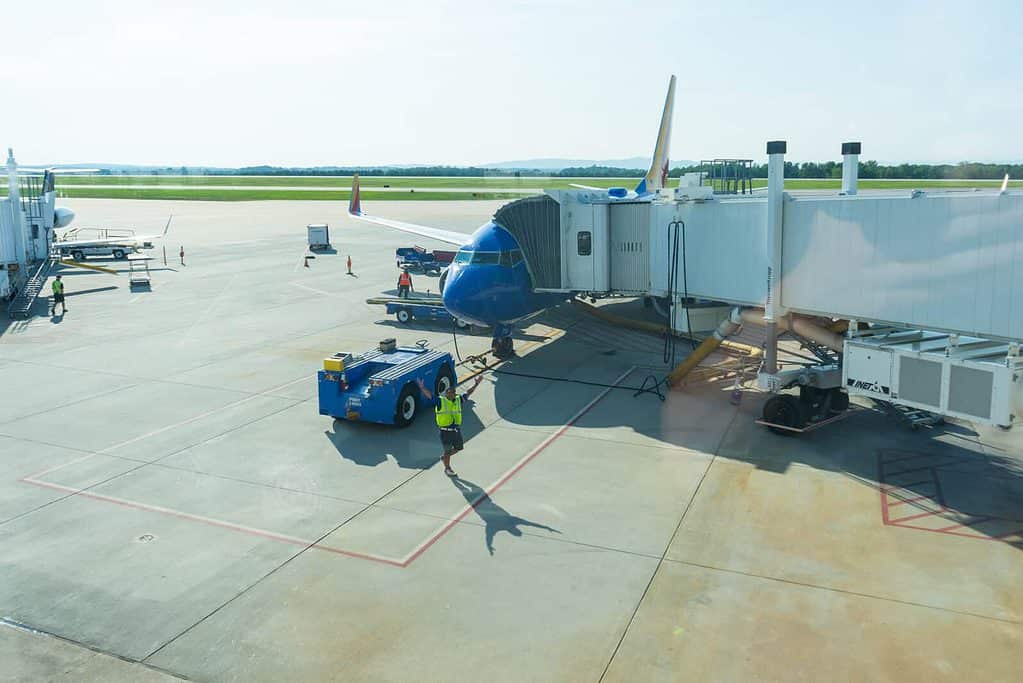
Sometimes there are even systems depending on your seat number, this will be signaled by screens or through the speakers by the staff.
Once you passed the checkpoint, you’ll proceed through a boarding tunnel directly connected to the airplane, or to a bus that will drive you directly to it.
Keeping your boarding pass within reach is a good idea since you often have to show it to the cabin crew on the flight as well.
📌 TIP: If you're young, strong, and handsome, I suggest letting the elderly get the seats on the bus - they need it more than you :-)
Once You’re on the Plane
19. Finding Your Seat
The first thing is to find your seat by looking at your number indicating the row, and the letter indicating the seat (for example 23F).
Much like the cinema, just without the popcorn.
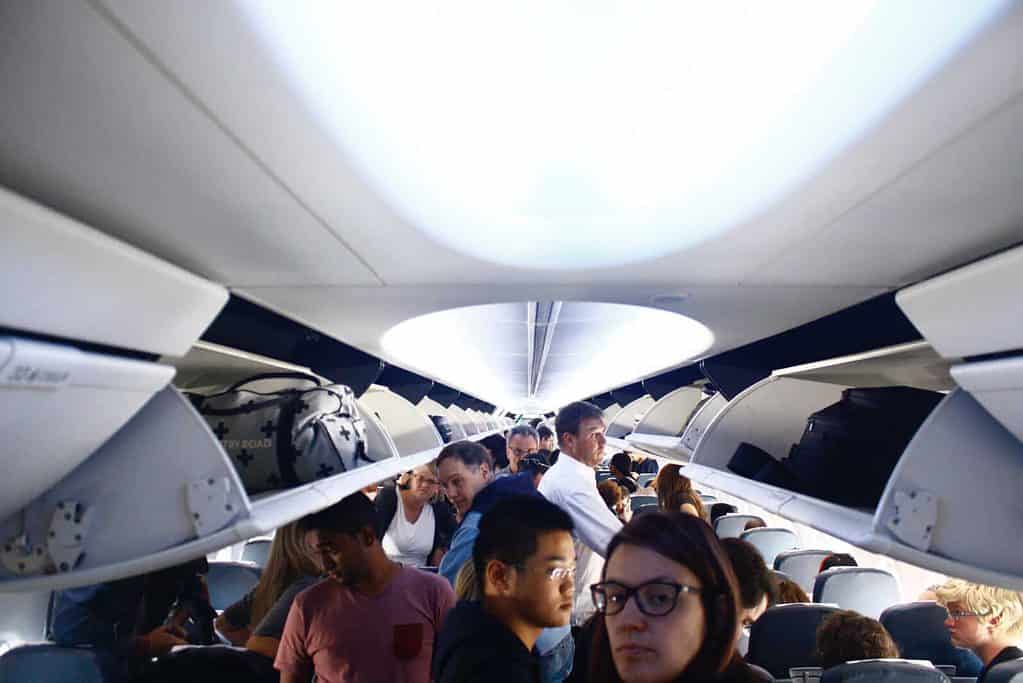
Once you find it you want to put your carry-on baggage in the overhead department near your seat.
But keep what you can have in the pocket in front of you – for example, a smaller laptop, tablet, or book so you have it ready for use.
Though some airlines require you to store it in the overhead department until after take-off.
And remember that you can use other overhead spots if your own is full.
Just remember where you put it, and most preferably between your seat and the exit, so it’s easy for you to pick it up on the way out.
Alternatively, you’ll have to wait until the plane is empty to get it.
While this is fine for some, if you have a connecting flight with little transfer time, it’s not good.
📌 TIP: If your seat is near the emergency exit - call yourself lucky, you'll be having extra leg space through your journey (hurraaay!).

But with that comes extra responsibility.

Usually, the cabin crew will come to you at a certain point and talk with you.

This is to make sure you communicate in English, and are fit enough to open the emergency exit in the über rare case it's needed - and to provide you with some quick safety instructions.
20. Once You Sit Down
The first thing you want to do is take on your seat belt.
Most seats have a recline function and an armrest. The seat has to be in a neutral position, and the armrest down. It will be like this from the beginning except if you adjust it.
All this is only until the airplane has taken off. You’ll not be in doubt when you’re free to take off your seatbelt, use any of the seat functions, or leave your seat for that matter.
Because besides the “Fasten Seat Belt” turning off, you’ll also hear the clicks of your fellow passenger belts opening.
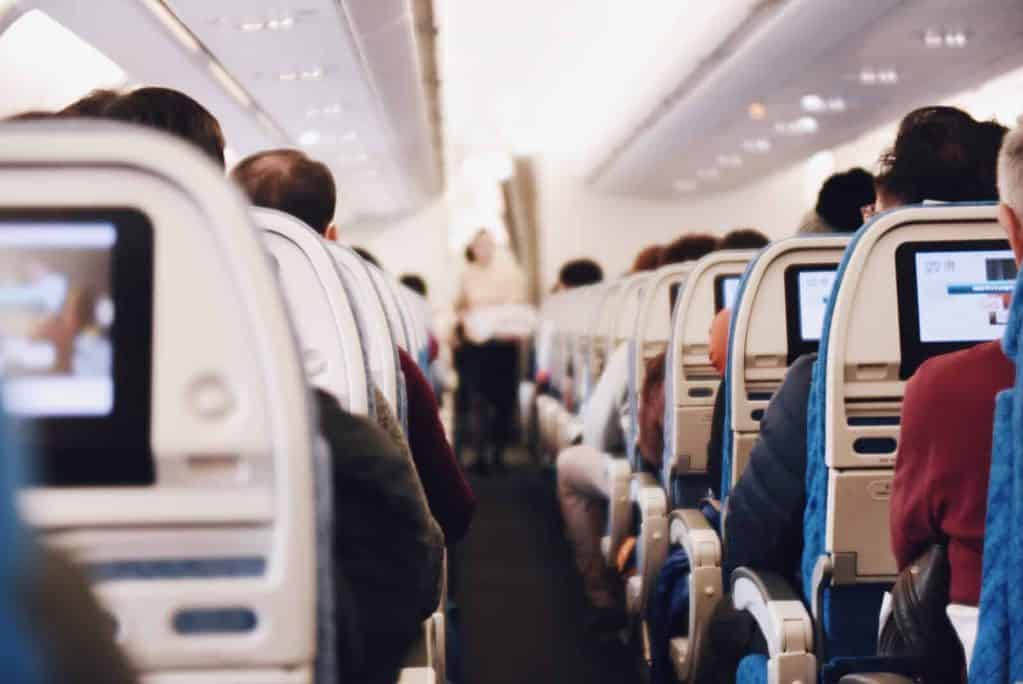
Though I recommended keeping your seatbelt during the whole flight in case of unexpected turbulence. Just adjust it so it’s comfortable, and you might not even notice wearing it.
Also, you need to put your phone into flight mode throughout the whole flight since the signal can interfere with the airplane’s radio communication.
21. Safety Throughout the Flight
Not long before the plane is taking off, it’s time for one of the more popular sequences of them all – the safety briefing.
You’ve maybe seen this in viral videos or movies before.
This is where the cabin crew will do a quick demonstration of the safety features on the airplane such as oxygen masks, lifevest, evacuation procedures, etc.
I know this all might sound dramatic, but don’t worry, it’s just procedure.
📌 TIP: If you're nervous about flying don't worry, this is very normal, even if it's not your first time.

I've flown hundreds of times in my life, and I still sometimes get a bit nervous in case of turbulence or lively weather.

But let's just make one thing clear:

Air travel is the safest form of travel there is, especially with today's knowledge and technology.

New data from The International Air Transport Association from 2021 calculated that you'd have to take a flight every day for 10,078 years to be involved in an accident with at least one fatality.
22. Ready for Take-off
Now to the fun part.
After driving to the runway shortly after you’ll hear the announcement from the captains through the speakers telling them they’re ready for takeoff.
Now the cabin crew will take their designated seats, and shortly after you’ll feel the plane accelerating.
Once it hit the appropriate speed of around 149-177 mph (240-285 km/h) the airplane will slowly take off.
Often you’ll hear some sounds from the airplane landing gear retracting the wheels shortly after. This is normal.
Do notice that it’s also normal to feel pressure in your ears due to the change of air pressure in the cabin.
If you have sensitive ears, pinching your nose while blowing out the air or chewing gum can help relieve the pressure.
And if you’re traveling with babies, I suggest having a bottle or similar as an alternative to chewing gum.
23. During the Flight – What Does It Feel Like to Fly in a Plane?
Now it’s time to relax and chill for a bit, and do whatever you feel like.
Sometimes you’ll feel the plane jumping a bit due to turbulence, or the butterfly feels in your stomach if the captain dives the plane a bit. All this is also normal.
You can compare turbulence to bumps in the road when driving a car.
I also suggest paying attention to announcements from the speakers throughout the flight, and the “Fasten Seat Belt” sign that will light up in case of turbulence ahead.
During these episodes, the lavatory will also temporarily close, and their occupied signs will light up as well.
If you get a sensitive stomach at any time, you’ll also find bags in the seat in front of you, if you feel like donating some food. Though I’ve only seen this happen in movies 🙂
24. Will Food be Served?
Maybe not the best transition from the last topic, but here we go anyways.
Whether there will be food or not depends on your flight.
If your flight is international or long, usually you’ll be served some food or at least snacks along with free drinks.
With budget airlines, you most likely have to pay.
And remember to have your credit card nearby, since a lot of airlines don’t handle cash at all.

25. Entertainment
As if your phone, laptop, or tablet isn’t enough – if your journey is a longer one or international you most likely will have your screen in the seat in front of you.
Here you’ll often find entertainment such as new movies and series. Sometimes even games, music, magazines, and newspapers.
And other various apps such as an interactive map keep you updated throughout your journey or even a view from the cameras outside the airplane.
To have audio you need to have a pair of headphones with an AUX cable, and sometimes even an airplane headphone adapter such as these 🎧
If you’re not flying business- or first class, don’t expect the headphones provided by the airline to be worth much.
26. Prepare for Landing
Soon before landing the captains will make an announcement that you’re about to land, and the cabin crew will shortly after start preparing for landing.
This procedure is a bit similar to take-off.
You need to place your items in the overhead bin again, return to your seat and fasten your seatbelt. Along with adjusting your seat to a fully upright position, take down the armrest, fold your table in the front seat away, and take your window blinds up if you’re sitting next to a window.
27. The Landing
Sometimes you’ll experience a bit of turbulence while dropping in altitude, and the airplane sways a bit when it gets closer to the ground. Sometimes there are no such things. It’s all normal.
Similar to when shortly after take-off, the airplane landing gear might make some noises as well, this is due to the extension of the wheels.
The landing itself is sometimes a bit bumpy and you’ll feel and hear the airplane braking. Sometimes there’s almost nothing. Again, this is also normal.
Once the airplane has slowed down a bit, the last thing is to reach the parking spot before leaving the plane.
Do notice that you shouldn’t take off your seatbelt or leave the seat before the airplane is fully still.
Even though your fellow passengers might decide to do so.
📌 TIP: Many aren't aware of is that most commercial airplanes are landed on autopilot today.
28. Exiting the Airplane
When the seat belt signs are switched off, you’re allowed to grab your luggage from the overhead bin.
And once the airplane is connected with the bridge or stairways, the cabin crew will open the exits, and you can leave the plane.
Even though you are likely eager to stretch your legs, let the passengers in front of you get out first
When You’re at the Airport of Your Destination
29. Transferring to Another Flight
If you’re not arriving at your final destination, look out for the signs guiding you to the transfer gates. As mentioned earlier, make sure you’re luggage is shipped directly to your destination. Otherwise, you need to pick up your luggage first and check in once again.
And often you also need to go through one more security checkpoint before entering the gates for your next flight.
If there are many hours before your next flight, you could most likely leave the airport and return later. This does depend on the visa requirements of the country you’re in and whether you’re allowed to leave the airport or not.
Notice that this requires you to go through security once again when returning to the airport, so schedule your time accordingly.
30. Picking Up Your Luggage
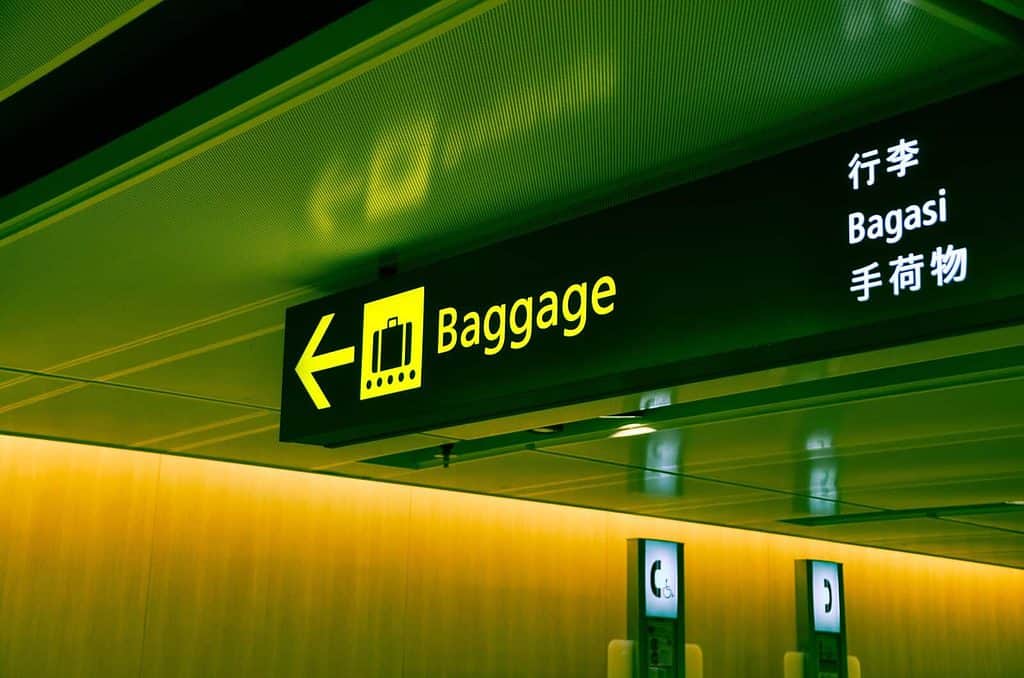
If you’ve already arrived at your final destination, the next thing is to pick up your checked-in luggage if you have any. Look out for the signs guiding you toward the luggage area.
Do notice that if your destination is international, you might have to go through an immigration checkpoint first.
Once you arrive at the luggage area, look out for your flight on of the displays. This way you’ll know what carousel to pick up your luggage at. Usually, the display will also give you an estimated time for when your luggage arrives, and keep you updated in case of any changes or delays.
Once you got your luggage, the very last step of your journey is passing customs.
31. What to Do in Case of Delayed or Lost Luggage
If your luggage isn’t showing up, while your destination is cleared from the screens, and the carousel stops rolling, it’s time to find the nearest office/counter representing your airline.
Here you’ll get the help needed to locate your luggage. They’ll also usually tell you when you can expect to reunite with it (it’s usually 1-2 days).
You’ll need to show the sticky slip you got when checking in your luggage. The mentioned earlier.
Once you retrieve your luggage, they’ll usually deliver it to your local address for free.
In some cases, the airline or your travel insurance compensates you by covering some of your expenses until your luggage arrives. This might apply to long delays as well.
📌 TIP: Remember to check your luggage for damages as well - also if it's delayed and you'll get it delivered to your accommodation/address.

One time in Antalya in Turkey, I surprisingly got my backpack delivered to my hostel during the night, when I was partying with some other fellow travelers at the bar there.

I rushed to the reception in pure euphoria of finally being united with what was my home at the time after 2 long days apart.

I signed the delivery papers, but without noticing several holes in the bottom of my backpack (the alcohol in my blood didn't support me in finding these).

My theory is my backpack had been scratching the ground during transport, also destroying my backup phone in the process.

I didn't get any coverage due to the inability to send my backpack to a reparation center during a world trip to get an estimate of the costs. And the phone wasn't worth much.

So on with my life, I went.
32. Customs
Going through customs is usually the last thing you do before exiting the airport.
This could include checking your documents, a quick X-ray or inspection of your luggage, and maybe even a few questions.
This is done to make sure you’re not bringing anything illegal into the country – or something have to pay taxes on.
This as with most other things depends on your destination.
33. Don’t Fall for the Popular ATM Currency Converting “Scam” (Bonus Tip)
If you’re arriving in another country, chances are that you’re a traveler.
This also translated into being an easy target for scams not knowing your way around.
The most distinct scam I know of is the ATM scam.
While it’s technically not a scam overcharging for an unnecessary service and manipulating people into buying it, the fees sometimes reach a greedy and unethical level.
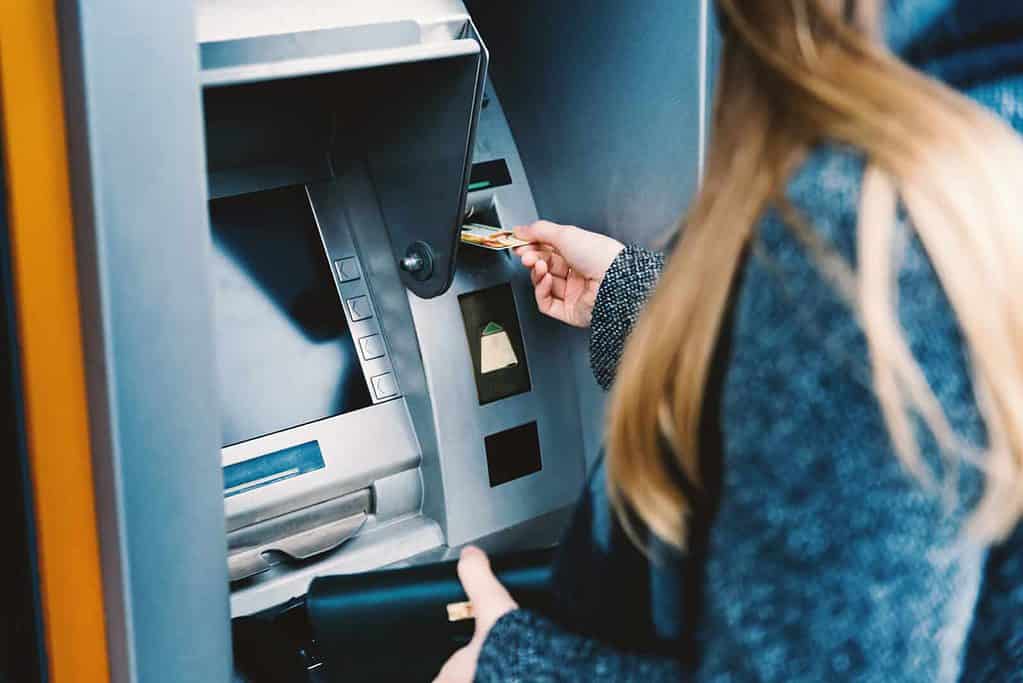
What I’m referring to is when you’re letting the ATM vendor be in charge of converting your money from your currency to the local currency when withdrawing.
Always choose to withdraw your money WITHOUT conversion, when you’re asked during the withdrawal process.
This means that you’re letting your bank convert the money – not the vendor of the ATM.
Alternatively, you could exchange with your bank at home before departing.
You could also save a lot by getting a credit card for traveling – for a small monthly fee you can have free withdrawals and even free currency exchanges.
I currently use a Danish credit card (Lunar), so this one I can’t recommend you.
If you’re from the US you can find a list of the top 10 travel credit cards here (The Points Guy).
And if you’re living inside the EU, I recommend N26 if they’re operating in your country. I used them when I was living in Latvia before moving back to Denmark.
Subscribing to these cards usually also offers other benefits such as travel insurance if you’re booking your trip with their card.
Just notice that the insurance coverage is usually limited to trips no longer than 30-60 days.
📌 TIP: If you're planning on buying a SIM card also be aware of the risks of getting severely overcharged if you buy it at the airport.

And if your phone supports eSIM you don't even need to get your hands on a physical card.

You can buy and install an eSIM through an app called Airalo. I've used them many times and highly recommend them.
34. Getting From the Airport (Bonus Tip)
If you’ve already arranged a pickup, your driver will most likely wait for you at the arrival hall holding a sign with your name.
If you’re free as a bird and can choose between whatever transport you might desire, there are several things you can do.
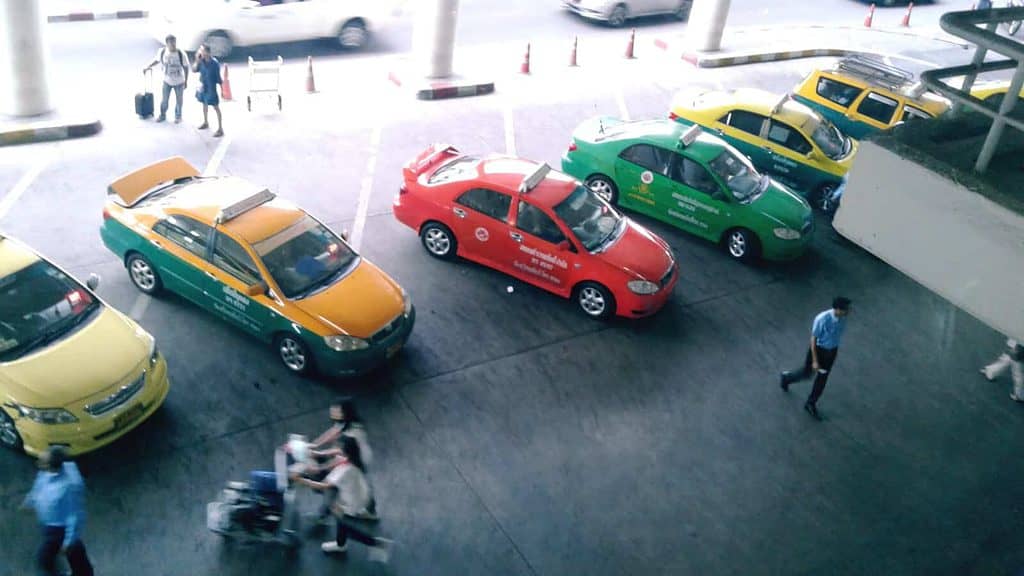
Depending on your destination and budget, taxis can be expensive, therefore public transportation can be the best option.
Public transportation from airports is usually easy and well-connected.
Though do notice, that if you travel at night or alone – especially as a female, it’s maybe comfier and safer to take a taxi. Especially if you’re wearing fancy things or items.
But you know your destination better than I do, so I’ll let you be the judge.
📌 TIP: Before agreeing with the first driver you'll meet or that might even approach you. Have a transport app downloaded beforehand such as Uber, Grab, or Bolt, or whatever else operate at your destination.

This is usually an easy way to save some dough and get the best trip at the same time.

You'll also decrease the risk of getting scammed or overcharged by a taxi driver since payments are usually through the apps making the driver more accountable.

If there are no such apps available, or you decide to go with a traditional taxi, make sure to order one from an official office or counter, decreasing the risk of a pirate taxi.
Conclusion
Even though this is a lot of information, don’t worry.
If you’re just in good time, generally pay attention, and ask the different staff throughout your journey in case of questions or need for directions, you’ll be fine.
Also during the flight, the cabin crew will help make sure you’re following procedure.
Enjoy your flight, my friend!




Leave a reply